/ Thursday, September 8, 2016
How to Repurpose a Gorgeous Pair of Tablecloths Into Curtains
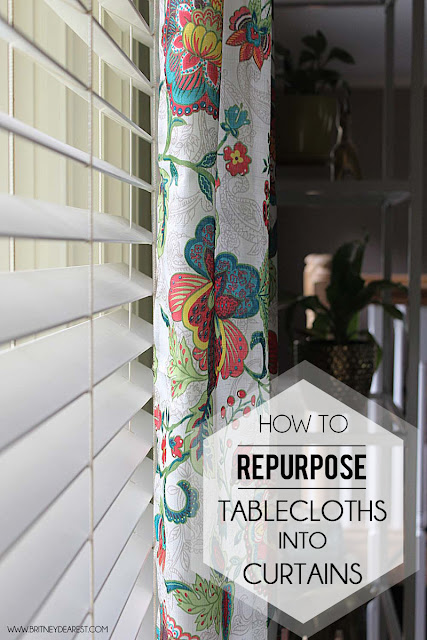
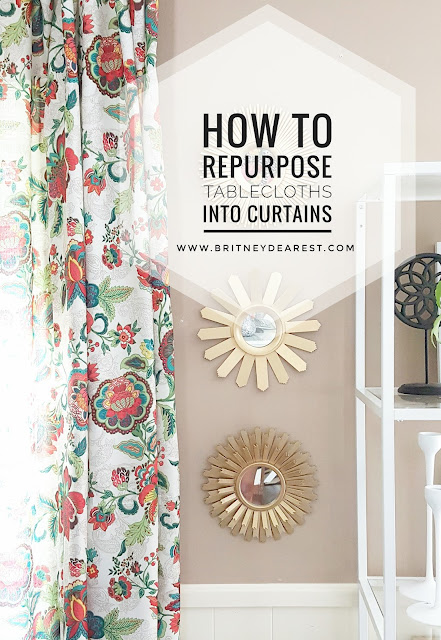
I have been on the hunt for a gorgeous and colorful pair of curtains for months. Unfortunately, each set I find and love are totally out of my price range. While on a recent shopping trip I happened to spot a gorgeous table cloth. I purchased the tablecloth with a plan to cut it, repair the edges with fabric glue and use it as a table runner, however, before this plan could come to fruition I had an "aha" moment. I could use the tablecloth as a curtain! The colors and fun print would be a great addition to my dining room windows and decor plans. The following week I went back to the store and purchased another.
They're thin, which is great because I don't want to block any light. I love naturally bright, open spaces. The width and length are perfect for the look I wanted. And they fit my budget perfectly coming in at $11 each.
Onto the instructions! This is so fun and EASY!
What you'll need:
- A window curtain/drapery rod set (includes brackets)
- Curtain rings with clips
- A pair of tablecloths of your choosing
- Soft tape measure (optional)
Additional items you'll need to hang your brackets & rod:
- Tape measure
- Pencil to mark the spots you'll drill holes for the brackets
- Screws & drill or screwdriver OR Hammer & nails
What to do:
Note: This may work better with two people. I'm impatient, so I did not wait for my husband to help me.
1. Lay out the tablecloth on a flat clean surface, completely spread out. (My floor worked great.) Determine which side you want to place the clips depending on the length you want your cloth to hang.
2. Spread your fabric tape measure across the top of the cloth and place each metal clip 5 or 6 inches apart from beginning to end.
3. Once each ring is clipped onto the cloth slide the rings, with curtains attached, to the rod. (I had to unscrew and remove the end piece. to get the rings on.)
How to determine where you want to hang your rod:
Note: This is the method I used to hang my rod & cloths, Although I thought this way was easy, I'm sure there are other ways you can find through a quick Google search if this one doesn't work out for you.
4. With a pencil in hand (or mouth, like me), hold the rod up to the spot on the wall you want according to where the cloth hangs. (I wanted mine barely above the baseboard.)
5. Mark the spot where the rod sits with your pencil and take a break! (That rod was heavy!)
6. Using the tape measure, measure how far the pencil spot is from the ceiling. That's how far down you'll place each rod bracket.
7. Your end brackets will sit above the two top corners of the window.
8. Use your pencil to mark the spots, place the brackets against the wall and secure them (screw & screwdriver or hammer & nails).
9. Place the center bracket directly in between to two end brackets (use the tape measure to determine), same distance from the top of the ceiling.
10. Add your rod with rings & cloth and adjust to your liking :-)


Follow by email to receive updates on my latest blog posts!
This is not an ad or sponsored content. Old Time Pottery is one of my favorite home stores to find affordable home decor.
Subscribe to:
Post Comments (Atom)


Those look beautiful in your home. My apt is too small to have a table so no table cloth lol. #aptgoals ;)
ReplyDeleteThis is amazing! I have been curtain shopping but they are expensive, this is great!
ReplyDeleteWhat a fantastic idea. I've seen a few tablecloths with patterns that I love that would actually make great curtains. And I love that you don't have to sew anything. Thanks for sharing!
ReplyDeleteMy mom did this to for me with sheets. I had 10 foot ceilings and love my curtains to come to the floor. She did a great job, too!
ReplyDelete